.jpg)
So true, right?
After buying about 20 dollars worth of jars and plastic containers of food for my daughter a few years ago... it dawned on me! I could do this... why had I never thought of it before? I looked to the label ... "prunes, water" ... "bananas, water, citric acid" "pears" ... etc....
Wait, wait ,wait!
why was I spending $.65- $1.15 on what was probably a 1/2 of a banana? ... I could buy a whole bunch of bananas.. or a whole bag of carrots and peas for the price of one measly jar!

I searched the web for baby food recipes and found a great site called:
"Momtastic Wholesome Baby Food'
It seriously the best site I found. - it goes through the different stages and has great recipes. It even goes through a big list of fruits and vegetables and what nutrients are in each of them. It also has a guide as to when is a good time to start feeding it to your baby
. - If you are really wanting to do this, explore this site, it has so much good information! :)
My first encounter, I had the site up on my counter and followed it to a "T" .... then I realized that I could make what ever I wanted for her! .... Today, I just made Stage 1 foods. Stage 2 recipes can be found on the above website.... and your imagination :).
Today I made:
Mixed veggies
Sweet potatoes
Sweet potatoes with corn
Prunes and banaas
Apple Banana oatmeal
Peaches and oats
Pears
Pears and oats
Carrots
Peas
It all took me just a few hours!! (and would've been much quicker if I wasn't trying to entertain and take care of 3 kids 4 and under :) )
I get a kick out of all of the fancy baby making food kits there are out there....
you certainly don't need this....
 Or this
.jpg)
.jpg)
Or this
They do realize those are ice cube trays right? ...
I mean... you can buy them at the dollar store! I'm not trying to mock the product..... some people need kits to get themselves motivated, but let me spare you a few bucks...
I mean... you can buy them at the dollar store! I'm not trying to mock the product..... some people need kits to get themselves motivated, but let me spare you a few bucks...
It is so easy and you probably have everything you need on hand ..
- A blender or food processor
- Ice cube trays
- A freezer
- Gallon baggies, or something to store the finished product in.
- And of course the food you will be making! :)
Gather and prepare your food... (I ended up not using the avacodos, and I added a few other things... buuut.. here's a visual for ya anyway :).......)
I guess the point is to see how much baby food can be made with so little....

First I started with the sweet potatoes... peal, chop, boil or steam.....
While that starts softening up.......

I play with this little Sweet Potato
(first time in his high chair today! :) ...)

Okay! Now! Time for business! The sweet potatoes were boiling, so I started on another food...
I plopped an entire carton of prunes and 2 ripe bananas in my Cuisinart - then blended those suckers!
Blend, Blend, Blend!
Prunes have a tough skin, so you need to blend them a lot - Then, you add water while blending until you find the consistency you want for your baby.
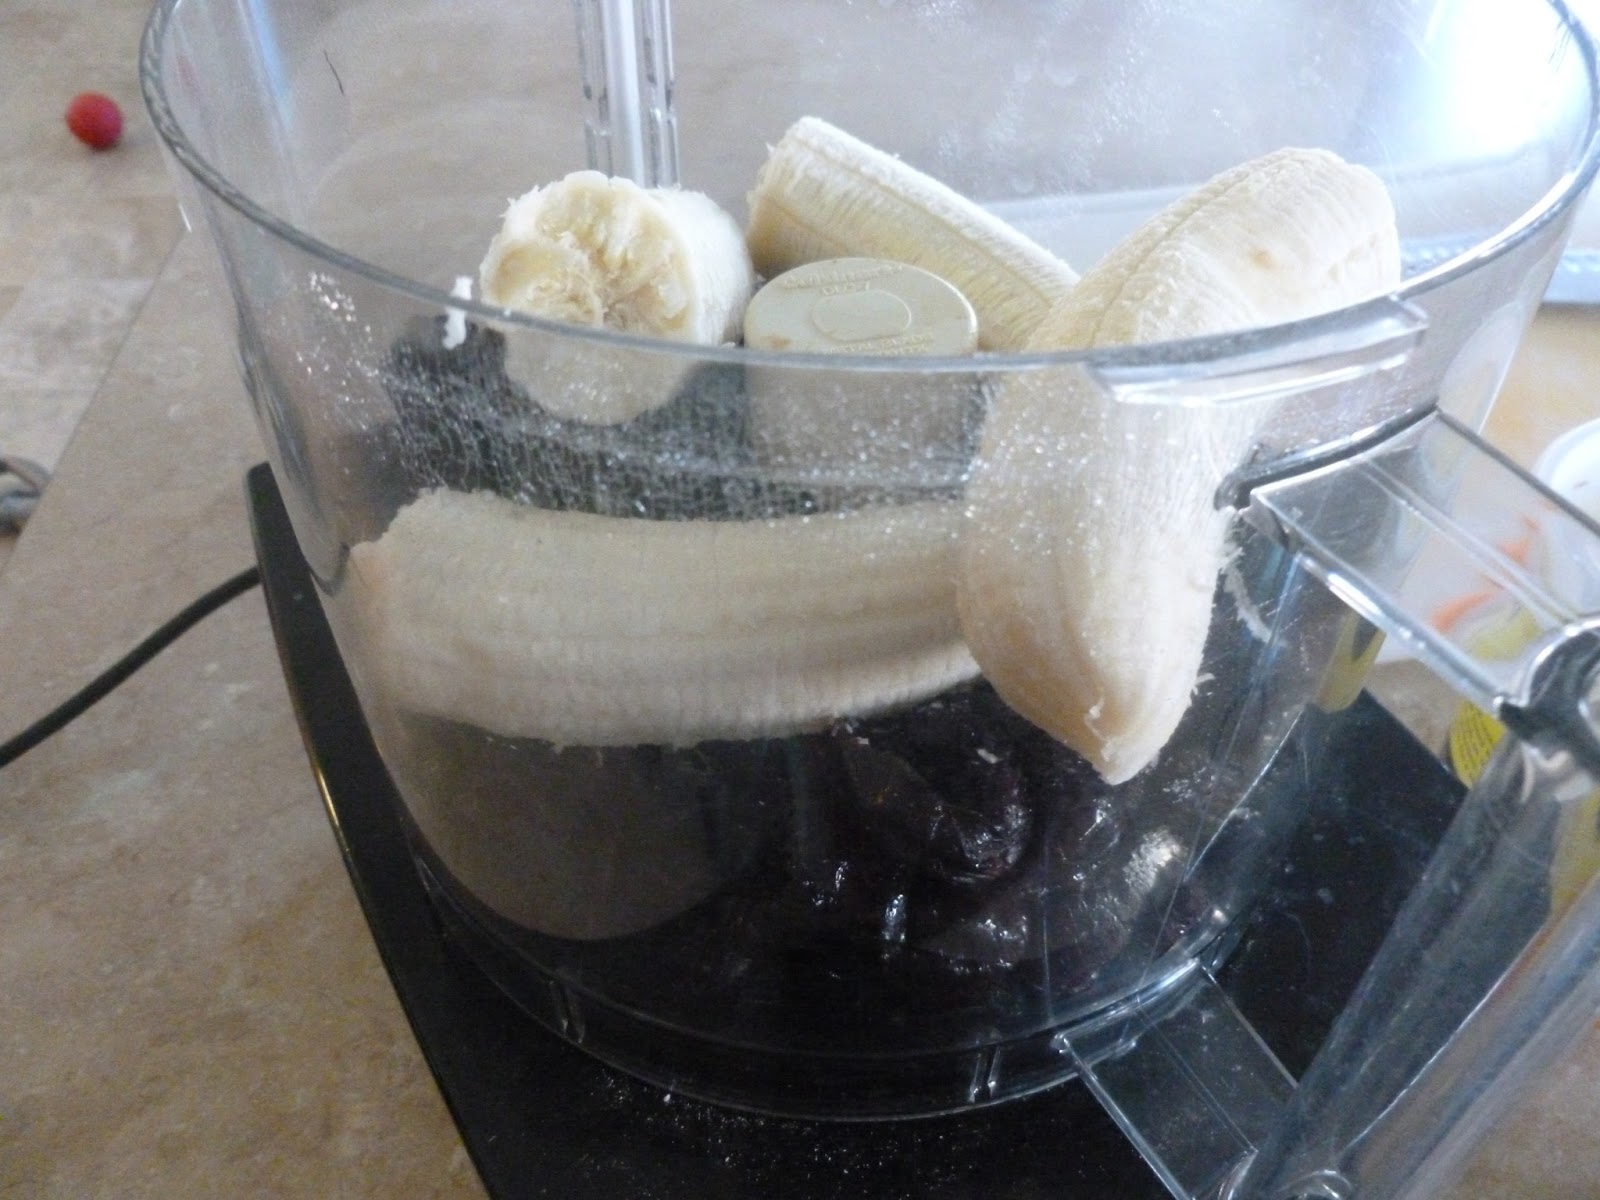
I chose to add bananas with the prunes to kind of counteract the extremes... bananas cause constipation and prunes .. well... you can imagine..... so!
Blend them together and what do you get??
Bibbity, Bobbity BOO!
Baby food with lots of great vitamins and nutrients!
Taste test!
I think it's safe to say, it was a hit! ..... Can you believe how easy that was?
You will soon get a feel for what the prep will be for each item.
Whether or not you need to peel them... if you need to steam or boil them... you get what I mean..
This is pretty common sense and some if it is just up to you. For instance, the website I posted above suggests to peel and steam the pears - I peeled mine, only because Ben's still pretty little... but I definitely didn't need to cook them down. Some moms to this to help break it down to make it easier to digest... it's up to you... I didn't think it was necessary.
Now on to the sweet potatoes...... I decided to boil them rather than steam them for sake of time. What's great about steaming or boiling, is that you can use the water to thin out your pure'. This helps put back the nutrients you lost while it was cooking.


It's that simple... pure'... add water to the right consistency.. and wammo! Baby food!
I blended half of the sweet potatoes plain, then added cooked corn to the other half. "Sweet Potatoes and Sweet Corn" is one of Ben's favorites!
Carrots and peas I steam..... pure' and add water to correct consistency ... (seeing a pattern here? :))
For the apple banana oatmeal, I just pure'd bananas and applesauce, then added baby oatmeal to it. (You can make your own baby oatmeal by putting regular oats in a blender or food processor).
Bananas and pears loose their color.. you could chose to put in lemon juice to avoid this.. but it really is just for looks.
I used a few jars of peaches that I bottled last fall to make the peach pure'. I hadn't done that before, and man! Even though I had drained them, it was still really runny, so I added oats to make it thicker.. and a more filling breakfast. You could even add a little cinnamon or cardamom for a peach crisp flavor.
The mixed veggies was a last minute decision... I was looking in my freezer for something and noticed a bag of mixed veggies.. so! I steamed them, pure'd them.. yada yada... SO EASY.
Seriously... I can't believe how much money I wasted buying baby food.
NOW to store it! :) There are a few ways you can store your baby food. Some people like to put serving sizes in snack size baggies, then flatten and freeze them... My favorite is with ice cube trays. You can freeze them, break them out in their cubes and store each food in a big gallon or quart bag. Then, you can easily take a serving out and warm it up (or have your baby's meals out the night before to thaw). What is nice about this is you can mix easily... just throw peas in with carrots, and wallah! Mixed veggies! Bananas and peaches? ... Boom! :) -


When I first started making baby food I would try to drop just enough in each little compartment to make sure the cubes would break out nicely... not necessary! :) I just glob it on there and use a rubber spatula to drag it across the tray, it all drops in and then you can scrape the sides when you are done... it definitely does not need to be perfect :) The cubes break out just fine :)
*Prunes are gummy and don't come out of the ice cube trays well, you can choose to use the snack size baggy system or just freeze them in their little jars. I still used ice cube trays, it's just sort of a pain to get them out.

I like to use these little containers when I feed him:

You can get them at Dollar Tree and they come in packs of 6! I LOVE these things :) - I use them for snacks for my kids all of the time! And they come with little lids, so you can take them wherever you go :)
Seriously! The longest part about this process was waiting for it to freeze! (Prunes are a little gummy so you need to freeze them longer... even over night) -
See that bag of peas up there? Imagine that times 10 in just one afternoon and for only a few bucks!
Can't beat that! :)
I hope this post was helpful! Have a fabulous night and don't forget to hit the "follow" button :) I'd love to have you around :)
Cara!
No comments:
Post a Comment